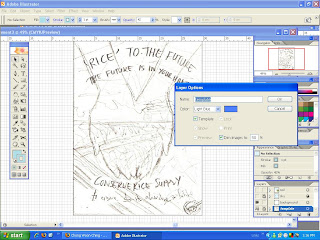
 First, I load my scanned sketch into Illustrator. Using Selection Tool, I adjust the position and size. Then, I set the layer as template so that it will not show on print.
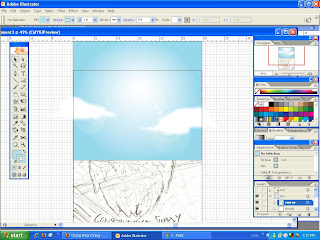 I copy the sky from my 2nd assignment and paste it into this file and made new layer named "sky" with sublayers "sunray", "clouds" and "base". Brush Tool, Blur Tool, Gradient Tool set at radial, and Flare Tool are used here.
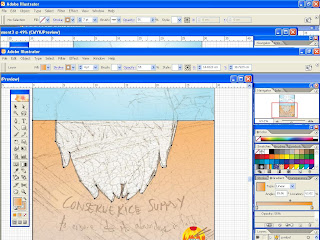 Next, I make a new layer named "cracked earth". I trace the outline of the hand using Pen Tool. Then I use Gradient Tool to apply the colour in the area of land outside of the hand.
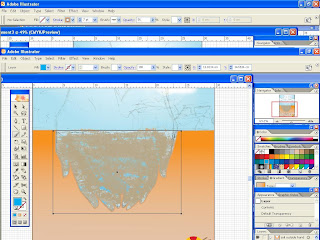 Underneath that layer, I make a new layer for the "soil in hands". Using Brush Tool, I set it as chalk brush and draw the brown uneven soil in "ground" sublayer. Then, I make a new sublayer "water" and use Rectangular Tool and fill it gradient blue. Next, i set the opacity lower and add "reflections" sublayer that i copy from the 2nd assignment.
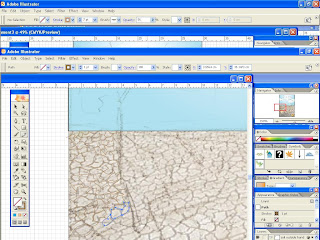
I load a photo from the web as my reference for land cracks into the template layer and set this sublayer as template. Using Pencil Tool with various thickness, I trace the cracks.
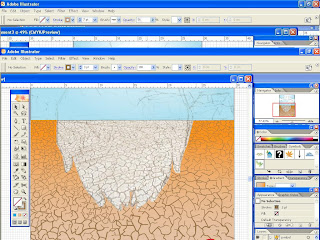 Finished with the cracks. Now experimenting with various shades for the cracked earth using Gradient Tool to show drought and dryness.
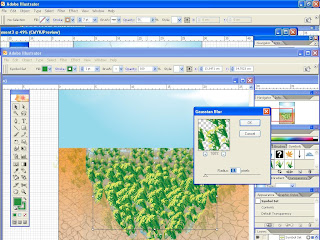 For the paddy field, I copy the 3 main stalk patterns from 2nd assignment. Then I duplicate and group them accordingly. I try using the Symbol Sprayer Tool with the 3 patterns. Symbol Sizer Tool is used to add more variations to the size of stalks. I use Effects >>Blur Tool>> Gaucassion Blur for further in the distance parts to show depth and perspective.
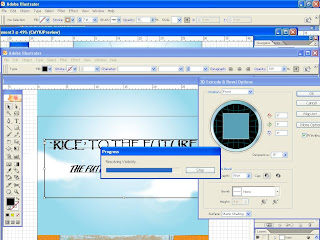 I use Type Tool for the title and statements. I use effects such as Effect>> 3D >> Extrude and Bevel set at Front position to add thickness for the outer parts of the message. Then, I explore other effects like Effect>>Stylize>> Outer Glow, Effect>> Stylize>> Feather to add contrast against detailed background and nice glow effect. Then I use Effect>> Warp>> Shell Upper for the top statement and Shell Lower for the bottom substatement.
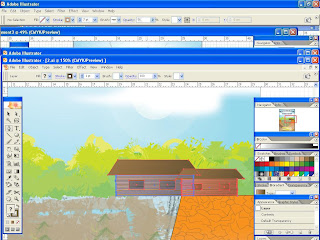 I use Pencil Tool to draw bushes in the distance. Then, I use PaintBrush Tool set at Charcoal-Feather brush to create the texture. After that, I use Rectangle Tool and Pen Tool to draw a hut. Gradient Tool is used to colour. Scale Tool is used to adjust the size of the duplicated hut.
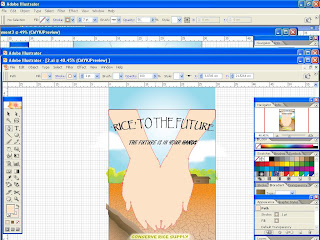 This is a pair of hands cupped a little and close together drawn using Pen Tool. I picked the colour from a photo using Eyedropper Tool. I experiment with the strokes and colour to improve visibility. Meanwhile, I add dried-up irrigation at the bottom left using Pen Tool and Mesh Tool which will be edited later.
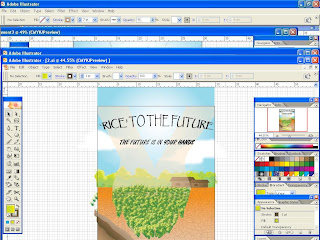 Here, I set the opacity of the hands lower so that it don't block images behind. I bring the paddy layer forward. Using Pen Tool and Warp Tool, I edit the irrigation.
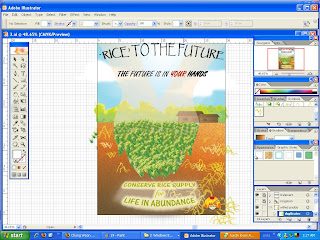 Using Pen Tool, I draw a wilted paddy stalk. Then, I Rotate and Reflect the stalks and use Scale Tool to vary the stalks. Then, with the different variations, I set them as Symbol. Using Symbol Sprayer, I distribute wilted plants on the cracked earth. Then, I use Symbol Scruncher Tool and Symbol Shifter Tool to change the shapes of the wilted stalks. I changed the gradient colour for the cracked earth and font colour for the word "YOUR" in `The Future is in YOUR Hands'.
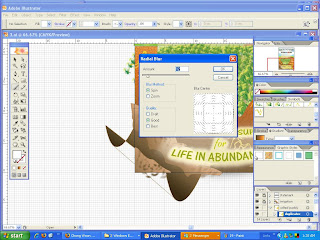 This is the new edited irrigation. The texture on the ground is made using PaintBrush Tool set at Ink Splatter brush. Then, I use Effects>> Blur>> Rdial Blur set at 12. Gradient Tool is used for the base colouring.
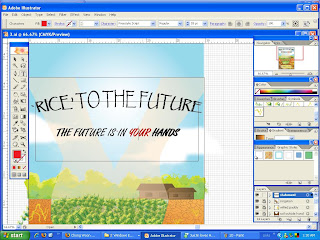
I change the font colour for the word YOUR. I want to add more emphasis to the fact that it is people's responsibility to take actions now to ensure bright future.
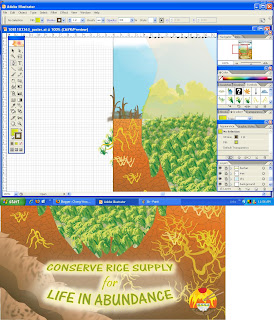
Using Pen Tool I draw a leafless tree. Then, I use Object>> Reflect and set at Copy to make duplicates. Next, I use PaintBrush Tool with chalk scribbe brush for the furthest trees and Effect>>Blur>>Gaucassion Blur to create depth. More edits are done here. Added darker shade for the hand outline.

1 comment:
step-by-step!ooh baby~~~
spam spam spam >:D
Post a Comment